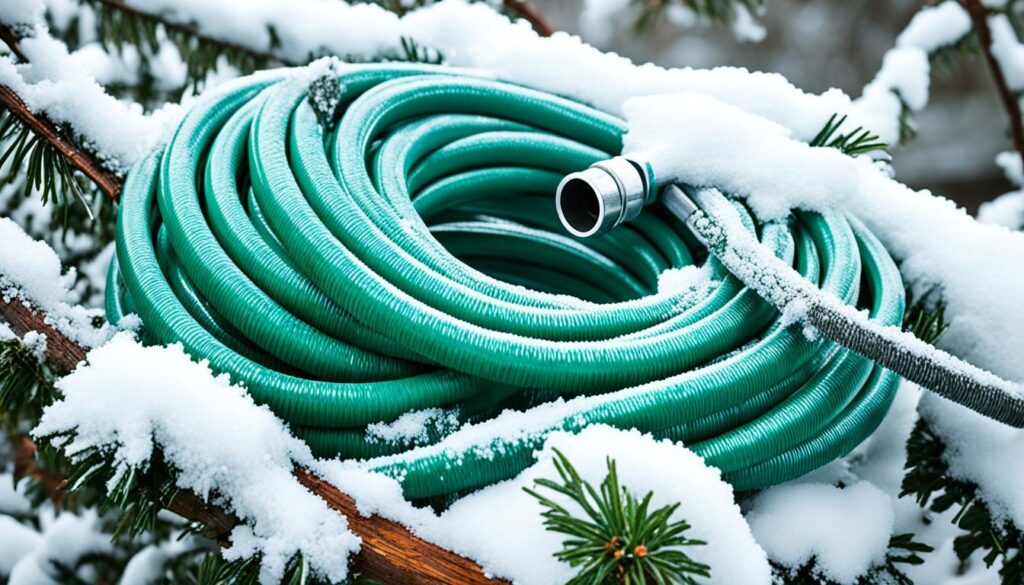
Most homes have just one garden hose for watering the garden. But, leaving it outside in winter can cause big problems. Experts say that hoses can split, burst, or get weak from the cold.
It’s important to winterize and store your hoses right to keep them working for years. This helps protect your garden hoses from the cold.
Key Takeaways
- Garden hoses are vulnerable to damage when left outside in winter due to freezing temperatures.
- Proper winterization, such as draining and storing hoses, is essential for preserving their lifespan.
- Leaving hoses connected can lead to damage to both the hose and the home’s plumbing.
- Soaker hoses require special attention, including burying or covering them for insulation.
- Heated garden hoses and insulation options can help protect hoses during the winter months.
Introduction to Garden Hoses and Winter
When the weather gets colder, garden hoses face special challenges in winter. It’s key to store them right to avoid damage from freezing. If hoses get damaged, they might leak or not work at all.
Leaving garden hoses outside in winter can cause them to split, burst, or get weaker. This is because they’re exposed to harsh weather.
Importance of Proper Winter Storage
Garden hoses come in different materials like rubber, vinyl, and polyurethane. Rubber hoses are usually better in cold weather than vinyl ones, which can crack easily. Storing hoses right helps protect them from temperature changes, reducing damage risks.
Potential Risks of Leaving Hoses Outside
Even a little water in the hose can cause problems when it gets cold, says The Spruce. Freezing and thawing can make the hose weak and prone to cracks. Also, hoses connected to spigots in the cold can get stuck together, which happens often in fall and winter.
To keep your garden hoses in good shape, make sure to store and winterize them correctly. Knowing how to protect hoses from winter helps them stay in good condition. This way, they’ll be ready for spring.
Understanding Freezing Temperatures and Garden Hoses
When winter comes, it’s important to know how cold weather affects your garden hoses. Garden hoses are out in the open and can freeze easily. They don’t have the same insulation as indoor pipes.
At What Temperature Do Garden Hoses Freeze?
Garden hoses freeze at higher temperatures than indoor pipes. While indoor pipes stay safe until it gets below 20°F and stays that way for 6 hours, hoses can freeze in just 6 hours at 32°F.
- Garden hoses can start to freeze as the temperature drops below 32°F (0°C).
- Outdoor hoses can freeze in as little as 6 hours once the temperature reaches the freezing point.
- Indoor plumbing, on the other hand, is typically safe until the temperature drops below 20°F (-6.7°C) for at least 6 hours.
Garden hoses freeze more easily because they’re not protected like indoor pipes. It’s crucial to winterize and store them right to keep them safe during winter.
“A garden hose can start to freeze in as little as 6 hours once the temperature drops below freezing (32℉).”
Why Not Leave Your Garden Hose Outside During the Winter?
Leaving your garden hose outside in winter might seem easy, but it can cause big problems. When it gets cold, the water inside the hose freezes. This can make the hose split, burst, or get weak. You’ll have to buy a new hose and might face plumbing issues if the connection freezes.
Statistics show that leaving a hose connected during winter raises the risk of frozen pipes and hoses bursting. This can lead to water damage in your home. Experts suggest disconnecting the hose two weeks before winter hits in areas with harsh cold.
When it gets below 32°F for over six hours, rubber or vinyl hoses can freeze. This can hurt the hose. Not winterizing your hose can cause pipes and faucets to break, leading to costly fixes in spring.
To keep your hose and plumbing safe, store the hose where it won’t freeze. Make sure to drain all water from the hose before storing it. Storing a hose with water in a garage can cause the water to freeze inside the hose, damaging even thick rubber hoses.
In cold areas, watch out for frozen pipes bursting. Bursting spigots are easy to prevent, but ignoring the risks can lead to big repair bills. A Yard and Garden article from November 1998 warns that leaving hoses on spigots in winter can freeze and burst water lines inside your home.
“Leaving a garden hose attached to the water valve caused ice to expand inside the hose, resulting in damage to the house coupling and splitting of a water pipe inside the crawl space.”
The author of the article suggests taking hoses off in winter to avoid pipe damage. More studies are needed to confirm if ice can move past the valve and cause pipe bursts. This could be a great idea for a science fair project for young scientists.
Steps to Thaw a Frozen Garden Hose
If your garden hose is frozen, don’t worry. You can thaw it safely with simple steps. Just be gentle and use warm heat to melt the ice without harm.
Straightening and Inspecting the Hose
Start by straightening the hose as much as you can. Don’t bend or stress the frozen parts, as they can break easily. Feel along the hose for stiff, frozen spots that need thawing.
Using Low Heat to Thaw Frozen Sections
Use a low-heat source like a hair dryer on a low setting to thaw the frozen parts. Slowly move the heat along the hose. This helps avoid overheating and damaging the hose. Be patient, as thawing can take time, but it’s crucial to go slow to prevent damage.
Draining the Thawed Hose
Once the hose is thawed, drain it completely. This removes any leftover water and stops future freezing. Hold the hose at one end and let the water drain out before storing it.
By following these steps, you can thaw a frozen garden hose safely. Remember to be patient, handle the hose carefully, and use gentle heat. With a bit of patience and care, your hose will be ready for spring.
Heated Garden Hoses: Pros and Cons
As winter comes, a heated garden hose can help prevent your hoses from freezing. These hoses stay warm and don’t freeze, even in the coldest weather. But, heated garden hoses have both good and bad points to think about.
A heated garden hose is great for cold weather. One person said their blue hose worked well at 27°F, thanks to insulation. Another user liked their Camco blue hose and used heat tape for extra protection.
But, heated garden hoses have some downsides. They cost more, from $100 to $300 or more, than regular hoses. They also need constant power, which can raise your bills and leave them at risk of freezing if the power goes out. One user found their hose got stiff like copper pipe in the cold, so they used it on warm days or warmed it indoors first.
Another issue with heated garden hoses is they don’t protect the water lines or pipes from freezing. A camper suggested not to wrap heated hoses with built-in thermostats. Instead, focus on keeping the area under the hose warm to stop the water lines from freezing.
In summary, heated garden hoses can help stop your hose from freezing in winter. But, they are more expensive and have some downsides. Think about the pros and cons to see if a heated hose is right for you.
Using a Heating Cable for DIY Heated Hose
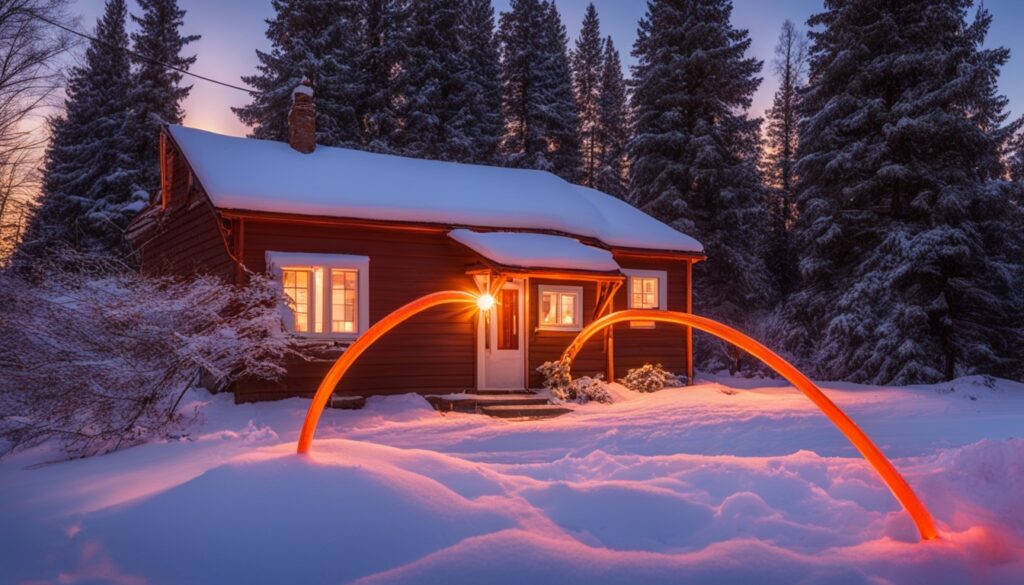
Instead of buying a pre-made DIY heated garden hoses, you can make your own. Use a heating cable and wrap it on your hose. Secure it with heat tape. This method is cheaper, costing about $50 to $100. But, it needs a power source and can increase your energy bills. It’s also at risk of freezing if the power goes out.
Putting the heating cable in the right way is key to warming the whole hose. Here are some advantages and disadvantages of using a heating cable for your DIY heated hose:
Advantages of Heating Cable for DIY Heated Hose
- Cost-effective solution compared to pre-made heated hoses
- Ability to customize the length and coverage of the heating cable
- Potential for greater energy efficiency if the heating is controlled properly
Disadvantages of Heating Cable for DIY Heated Hose
- Requires a power source, which can increase energy costs
- Vulnerable to freezing during power outages
- Proper installation is crucial to ensure the entire hose is effectively heated
Using a heating cable for your DIY heated hose can save money. But, it needs careful planning and setup. This way, it can protect your hose from freezing in winter.
| Feature | Pre-made Heated Hose | DIY Heated Hose with Heating Cable |
|---|---|---|
| Cost | Higher (typically $100-$300) | Lower (around $50-$100) |
| Installation | Plug-and-play, no assembly required | Requires wrapping the heating cable along the hose and securing it |
| Power Source | Integrated, no external power needed | Requires a power source (outlet or extension cord) |
| Freeze Protection | Maintains heat during power outages | Vulnerable to freezing during power outages |
Insulating Your Garden Hose
As winter comes, it’s key to protect your garden hoses from damage. Using foam insulation is a great way to do this. This method keeps your hoses from freezing and ready for spring.
Insulation helps, but it’s not a guarantee against freezing in very cold areas. It slows down freezing, but won’t stop ice from forming if the hose stays outside too long.
Here are some tips to make insulating your garden hose work better:
- Pick a top-notch, weather-proof foam insulation made for protecting hoses from freezing.
- Make sure the insulation fits well and is tight, with no cold air getting in.
- Check on the insulated hose often, especially when it gets colder suddenly. Move it inside if needed.
- Use insulation with other ways to protect it, like taking it off the faucet and draining water, to lower freezing risk.
By insulating your garden hoses, you can make them last longer and have easier gardening in the cold. Insulation is helpful, but think about your area’s weather to best protect your hoses.
| Insulation Type | Insulating Capacity | Durability | Cost |
|---|---|---|---|
| Foam Pipe Insulation | Moderate | Good | Affordable |
| Rubber Pipe Insulation | High | Excellent | Moderate |
| Fiberglass Pipe Insulation | High | Good | Moderate |
| Heat Tape | Excellent | Good | Moderate to High |
“Insulating your garden hose is a simple and effective way to protect it from freezing temperatures and ensure its longevity. However, it’s important to remember that insulation alone may not be enough in particularly cold climates, and additional measures may be necessary to keep your hose safe and functional year-round.” – Petar Ivanov, gardening and plant expert
Protecting Your Hose and Pipes with a Freeze Miser
The Freeze Miser is a top choice for keeping your garden hoses and outdoor plumbing safe from freezing. It attaches to your hose and releases water when the temperature hits 37°F. This keeps the hose water from freezing, avoiding damage and leaks.
How the Freeze Miser Works
The Freeze Miser watches the water temperature in your hose. When it gets too cold, it starts to drip a bit of water. This keeps the water moving, so it won’t freeze and cause damage.
Benefits of Using a Freeze Miser
- Protects garden hoses from freezing damage, preventing costly replacements
- Safeguards outdoor faucets and exposed water pipes, reducing the risk of burst pipes and water damage
- More affordable than heated garden hoses or DIY heating cables
- Effective for hoses up to 150 feet in length
- Can be easily integrated with a “Y” valve for efficient winter storage and reconnection
Getting a Freeze Miser means your garden hose is ready all year. You won’t worry about freezing or burst pipes. It’s a smart, budget-friendly way to protect your outdoor plumbing and relax during the cold months.
“The Freeze Miser is a game-changer for anyone with a garden hose or outdoor faucets. It’s an affordable and efficient way to prevent winter freeze damage and water loss.”
Disconnecting and Draining Garden Hoses
As winter comes, it’s key to disconnect and drain your garden hoses to avoid freezing damage. This step keeps your hoses in good shape and makes them ready for spring.
Start by taking the hose off the outdoor faucet or spigot. Twist the coupling off while holding the hose up. Then, let gravity drain the water by walking along the hose. This draining hoses before storage step is vital to avoid freezing and damage to your plumbing.
After draining, coil the hose into a three-foot loop and put it in a dry spot, like a shed or garage. Proper hose storage techniques like this keep the hose’s shape and stop kinks or cracks in winter.
Disconnecting your garden hoses for winter is crucial for your outdoor irrigation system. By disconnecting and draining your garden hoses, they’ll be set for spring without freezing or water issues.
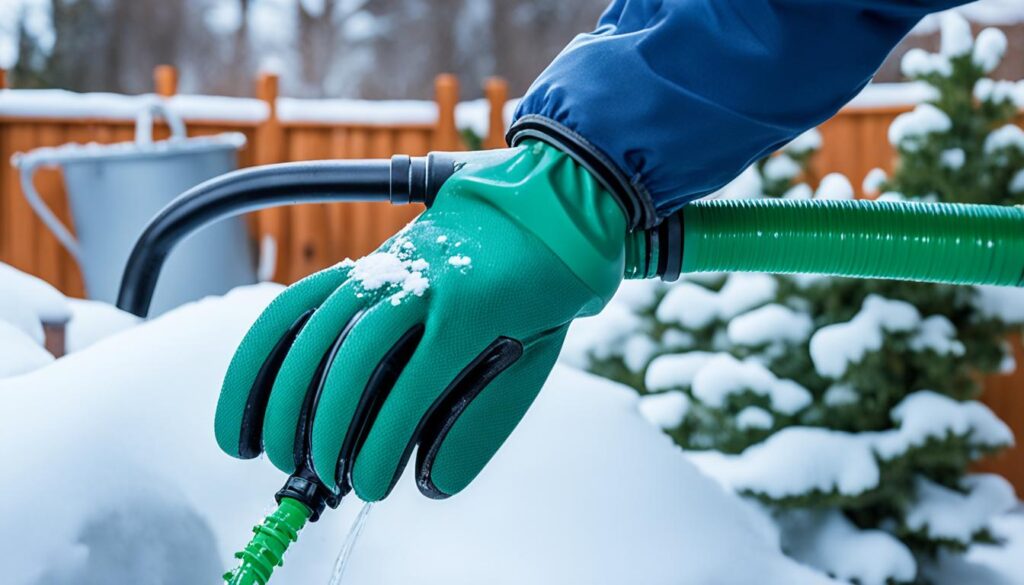
Don’t forget to use fittings or end caps on the couplings to keep pests out. This step adds peace of mind and helps your hoses last longer.
can garden hoses be left outside in winter
Proper Coiling and Storage Techniques
As winter comes, it’s key to get your garden hoses ready for the cold. Leaving them out isn’t a good idea because the cold can damage the hose’s inside. This can lead to splits and bursts.
To keep your hoses in good shape, follow these steps for winter storage:
- After draining the hose, coil it into a three-foot diameter. Don’t coil it too tight to avoid damage.
- Put the coiled hose in a dry place, like a shed or garage. This keeps it safe from winter weather and pests.
- Use a tie wrap to keep the hose’s shape and stop it from unraveling.
By coiling and storing your hoses right, they’ll stay safe and ready for spring. A little effort now can save you from expensive hose buys later.
“Proper coiling and storage techniques are essential for preserving garden hoses through the winter months.”
Winterizing Soaker Hoses
As winter comes, it’s key to get your soaker hoses ready. They need a special care plan unlike regular hoses. By following these tips, your soaker hoses will be ready to work well when spring comes.
Running Water and Disconnecting Soaker Hoses
Run water through your soaker hoses one last time before winter. This clears out debris or ice, preventing damage. After, disconnect them and bury the ends in the ground for insulation against freezing.
Landscaping Changes and Removing Soaker Hoses
Think about removing your soaker hoses in the fall if you’re redoing your landscaping in spring. This makes spring easier, as the soil won’t be disturbed. By taking out the hoses, you’ll have a clean start for spring projects.
Properly winterizing your soaker hoses keeps them in great shape for next year. These easy steps will help you enjoy your garden for years.
Conclusion
Proper care and winterization of your garden hoses are key to their long life and good performance. From disconnecting and draining the hoses to using heated hoses, cables, or a Freeze Miser, there are many ways to keep your hoses safe from freezing. By getting your hoses ready for winter, you save these important tools and skip the trouble and cost of buying new ones every spring.
It’s a good idea to check your hoses often for cracks, leaks, or holes. Also, test them in the spring at low water pressure to find and fix any problems early. Choosing frost-proof hoses with anti-icing spray or heat tapes gives extra protection in very cold areas. These hoses might cost more than regular ones.
Storing your hoses right, like on wall-mounted reels, helps them last longer. This method also stops them from touching cold, damp ground. Make sure to keep your retractable hose reel in a dry, warm spot over winter. By doing these things to protect your garden hoses from freezing, they’ll work well for many seasons.

