Did you know washing your gardening tools and gloves can help stop plant diseases? Cleaning your gloves is key to keeping them working well and lasting longer. It also keeps them clean, especially if you often touch soil and plants. I’ll give you some easy tips on how to wash your gloves safely, making gardening better and healthier for you.
Key Takeaways
- Effective cleaning of gardening gloves prevents disease spread in plants.
- Identification of machine-safe washing methods extends glove life.
- Different materials require different washing techniques for optimal care.
- Understanding cleaning tools can reduce the effort in maintaining gardening equipment.
- Investing in quality gloves can provide comfort and durability.
- Regular maintenance of gloves leads to better gardening experiences.
Why Are Gardening Gloves Essential?
Gardening gloves are key for many reasons. They offer hand protection in gardening and are vital. When I garden, I face sharp thorns, rough soil, and harmful chemicals. Gloves help prevent cuts, scrapes, and skin problems.
Gloves do more than just protect. They improve grip and dexterity, making gardening tasks easier. This reduces the risk of accidents, keeping me safe in the garden. With my hands protected, I can focus on my plants.
Choosing the right gardening gloves is important. Leather, latex, and synthetic fabrics each have unique benefits. Leather is durable, while latex is flexible for detailed work. Each glove type is crucial for hand protection in gardening.
Using gardening gloves makes gardening safer and more comfortable. For tips on growing vegetables in tough climates, see growing vegetables in Arizona. This advice supports the importance of gloves in protecting our hands.
| Type of Gloves | Key Benefits | Price Range |
|---|---|---|
| MidWest Max Grip | Durability & Comfort | $23 – $25 for six pairs |
| West County Gauntlet | Extended wrist coverage & protection | $30 for one pair |
| Atlas 451 | Great flexibility & tactile sensitivity | $5 for one pair |
| Lincoln Electric Welding Gloves | Heat resistance & protection | $19 for one pair |
| Cooljob Touch-Screen Gloves | Convenient for using devices | $10 for two pairs |
Understanding Different Types of Gardening Gloves
When you start gardening, knowing the different types of gloves can really help. Each type has special features for various gardening tasks. Choosing the right gloves can make a big difference in your gardening experience.
Leather gardening gloves are known for their toughness. They protect against thorns, sharp tools, and rough surfaces. This makes them perfect for hard work. Many gardeners choose leather gloves for their long-lasting quality.
Cotton gardening gloves are a good choice for those who prefer something lighter. They’re great for tasks like planting and pruning when it’s warm. These gloves let air in but still keep hands safe from small cuts and dirt.
Synthetic gloves are great for their flexibility. They’re often waterproof and safe from chemicals. This makes them ideal for many gardening jobs, like using pesticides or working in wet areas. Synthetic gloves are a key part of my gardening gear.
Here’s a handy comparison of the main types of gardening gloves:
| Type of Gloves | Material | Best For | Features |
|---|---|---|---|
| Leather Gardening Gloves | Leather | Heavy-duty gardening | Durability, thorn resistance |
| Cotton Gardening Gloves | Cotton | Light gardening tasks | Breathability, comfort |
| Synthetic Gloves | Synthetic materials | Chemical handling | Waterproof, flexible |
How to Properly Rinse Your Gardening Gloves
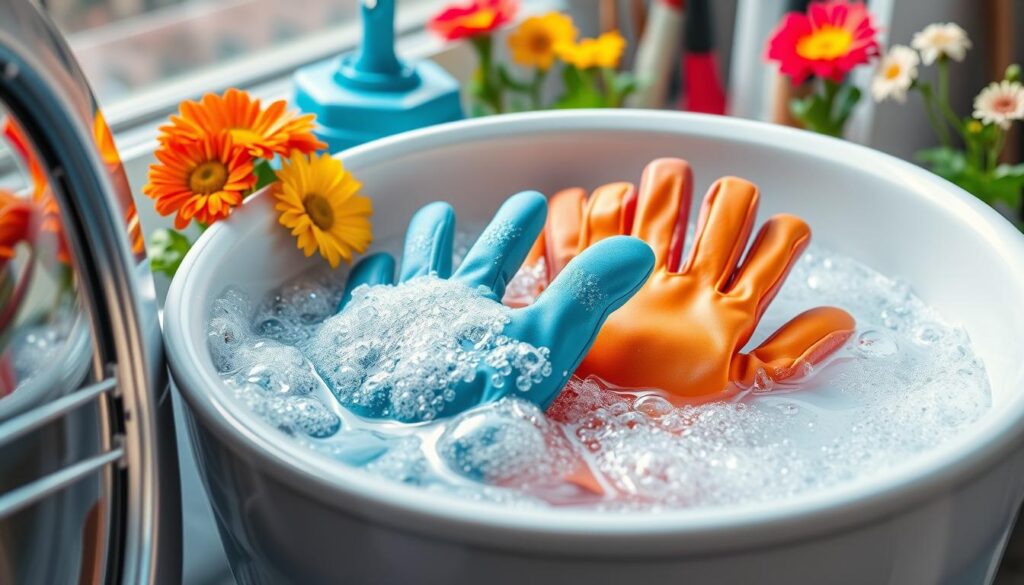
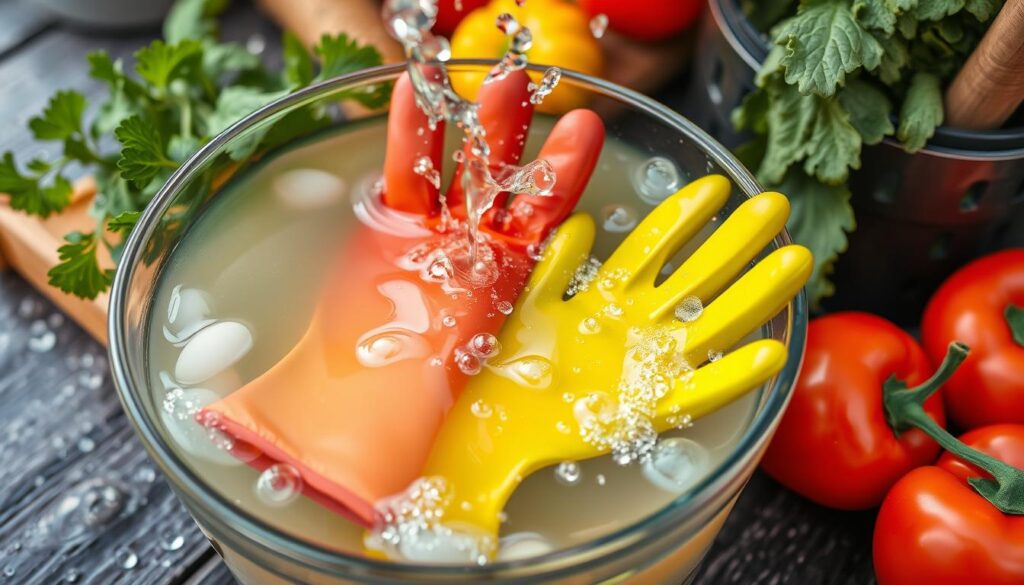
Keeping your gardening gloves clean is crucial for garden glove maintenance. Rinsing them after use stops dirt from sticking, making them last longer. I like to wear the gloves while rinsing under a hose or in a bucket. This way, I can easily get rid of trapped soil.
It’s important to rinse right after gardening, especially if you’ve used chemicals or touched sick plants. This keeps your garden safe from contamination. A good rinse removes harmful stuff, protecting your hands and plants.
Sticking to a routine for cleaning your gloves keeps them fresh and improves your gardening. It lets me focus on my plants without worrying about dirty gloves. For tough dirt, I suggest using Lava Soap. It cleans well and moisturizes my hands.
| Step | Description |
|---|---|
| 1 | Wear gloves while rinsing for better soil removal. |
| 2 | Use a garden hose or bucket of water. |
| 3 | Rub the gloves together to loosen dirt. |
| 4 | Rinse immediately after gardening tasks. |
| 5 | Utilize effective soaps like Lava Soap. |
Can You Garden Year Round in Arizona?
Gardening all year in Arizona is definitely possible. The Arizona gardening climate offers both chances and challenges across the seasons. I start planting in late October or early November, when it’s cooler. This is perfect for starting many vegetables.
Winter in Arizona is great for growing things like broccoli and cilantro. These crops do well and keep giving until spring comes.
Arizona’s warm weather makes many plants grow well, especially in certain spots in my garden. But, it’s easy to overwater, which can be a problem in the summer heat. To avoid this, I water my plants carefully. This helps prevent root rot and keeps them healthy.
Vegetables like okra and Armenian cucumbers can handle the summer heat. They grow well and produce a lot.

Arizona has three main planting seasons. There are cool-season crops from September to March, warm-season crops from February to May, and a monsoon season in July or August. Knowing these seasons helps me pick the best plants for my garden.
I’ve found that using raised beds with a mix of compost, coconut coir, or peat moss and vermiculite is best. This mix gives my plants the nutrients they need.
Some vegetables, like eggplants and melons, do well in both summer and winter. Citrus trees also grow all year. Arizona’s soil can be tricky, but adding the right stuff helps. Mulching is key to keeping the soil moist and the right temperature. This makes gardening all year round possible and successful.
| Season | Crop Types | Ideal Planting Period |
|---|---|---|
| Fall | Cilantro, Broccoli, Artichokes | Mid-October |
| Winter | Broccoli, Eggplants, Sweet Basil | November – March |
| Spring | Melons, Hot Peppers, Armenian Cucumbers | February – May |
| Monsoon | Okra, Dill, Corn | July – August |
Machine Washing: What You Need to Know
Machine washing gardening gloves can be a good choice if done right. It helps keep your gloves in good shape for longer. Knowing how to wash them properly is key.
Two important things make washing easier: picking the right cycle and the best detergent for gloves.
Choosing the Right Cycle and Temperature
When I wash my gloves, I always use a gentle cycle with cold water. This keeps the gloves safe, especially if they’re made of cotton, latex, or synthetic materials. I put them in a mesh lingerie bag to protect them from other clothes.
This keeps my gloves from getting damaged and keeps them tidy.
Detergent Selection for Gardening Gloves
Choosing the right detergent is also crucial. I use a mild detergent to clean my gloves. It gets rid of dirt and stains without harming the material. This is important because gloves can pick up pesticides or tough stains.
I always check the detergent labels for harsh chemicals. If my gloves are really dirty, a pre-soak in the right detergent can make a big difference.

Following these steps helps your gardening gloves last longer. For more tips on gardening, check out this resource on desert gardening techniques.
Hand Washing Techniques for Different Materials
Keeping my gardening gloves clean is key, especially with different materials. Proper hand washing makes them last longer and work better. I use special techniques for each glove type.
Cleansing Cotton and Synthetic Gloves
First, I rinse cotton gloves under cold water to get rid of dirt. Then, I soak them in warm water with a bit of mild detergent. I make sure to wash every part of the glove.
It’s important to rinse well to remove all soap. This keeps my skin safe when I use them again. After, I lay the gloves flat to dry.
Cleaning Latex and Nitrile-Coated Gloves
For latex and nitrile gloves, I wash them on. This keeps their shape and lets me clean every spot. I use a soft brush with soapy water to gently scrub stains.
After a good rinse, I make sure they dry completely. This prevents moisture problems. Cleaning nitrile gloves this way keeps them in top shape.
These washing tips help my gloves last longer and work better. I can garden with confidence, knowing my gloves are ready for the job.
| Material | Washing Method | Drying Method |
|---|---|---|
| Cotton | Soak in soapy water, rinse thoroughly | Lay flat to air dry |
| Synthetic | Similar to cotton, gentle swish in soapy water | Air dry by laying flat |
| Latex | Wash while wearing, soft brush for stains | Air dry on hands or hang |
| Nitrile | Same as latex, scrubbing as needed | Air dry completely |
Tips for Washing Leather Gardening Gloves
Caring for leather gloves is key to keeping them in top shape. I make sure to use the right cleaning products and methods for leather. It’s important to wash them regularly, especially after using them in the garden a lot.
Importance of Gentle Soap and Conditioners
I choose gentle soaps like saddle or castile soap for washing my leather gloves. These soaps are kind to the leather and keep its natural oils. Harsh detergents can dry out and crack the leather. After cleaning, I condition them with linseed oil or a leather conditioner. This keeps the gloves soft and makes them last longer.
How to Avoid Damage During the Washing Process
To keep my leather gardening gloves safe, I’m careful when washing them. I don’t soak them in water, but use soap with a soft cloth instead. It’s important to let them dry in the air before putting them in cotton bags. This stops moisture from building up and causing mildew. Taking these steps helps my gloves stay in good shape for many gardening seasons.
| Cleaning Method | Recommended Product | Frequency |
|---|---|---|
| Washing leather gloves | Castile soap | As needed, depending on use |
| Conditioning leather gloves | Linseed oil or leather conditioner | At least once a year |
| Air drying | N/A | After every wash |
| Storage | Cotton bags | Always, when not in use |
Preserving Your Gloves’ Longevity
To keep my gardening gloves in good shape, I store them in a dry, airy spot away from sunlight and moisture. This keeps them effective and durable. After each use, I clean them well, especially if I’ve been handling chemicals. This prevents damage to the material.
Regular care is key to making my gloves last longer. I check them for wear or damage that could affect their protection. This helps me avoid using gloves that might not protect me during gardening. Following these tips has greatly improved my gardening.
For more tips on keeping my home and gloves in top shape, I look at resources like this home maintenance guide. It gives me advice not just for my gloves but for my whole home. By using these tips, I can keep my gardening gear and home in great condition.
FAQ
Why are gardening gloves important?
Gardening gloves protect my hands from cuts, scratches, and chemicals. They keep me safe from thorny plants and dirt. This makes gardening safer and more comfortable.
Can you garden year round in Arizona?
Yes, I can garden all year in Arizona because of its varied climate. In winter and spring, cool-season veggies grow well. Fall is perfect for planting too.
How do I properly rinse my gardening gloves?
To rinse my gloves, I wear them under a garden hose or in a water bucket. Rubbing them helps remove dirt. It’s important to wash them right after use, especially if they touched chemicals.
What should I consider when machine washing gardening gloves?
For machine washing, I use a gentle cycle with cold water. Putting the gloves in a mesh lingerie bag protects them. I also use a mild detergent, especially for gloves that touched pesticides.
What are the differences in washing techniques for various glove materials?
Cotton and synthetic gloves get cleaned by gently swishing them in soapy water. Latex and nitrile gloves can be washed while still on. Leather gloves need gentle soap and conditioning to stay in good shape.
How can I prolong the lifespan of my gardening gloves?
To make gloves last longer, I store them in a dry, airy spot away from sunlight and dampness. I clean them well after each use and check for damage. This keeps me safe and saves me from using gloves that don’t work well.
What are the best plants for gardening in Arizona?
Great plants for Arizona gardens include tomatoes, peppers, zucchini, and many herbs. They do well in the warm weather. Planting them at the right time follows Arizona’s growing seasons.
Where can I find gardening resources for Arizona?
I look at local gardening extension services, online forums, and books about Arizona gardening. These resources help me learn more and improve my gardening skills.

